Thursday, September 29, 2011

Mire poix

Recently I happened upon Redoux, a very cute blog.  A post that caught my eye was for mire poix - a chopped veggie blend you use in cooking as a seasoning base for all kinds of wonderful things.  She does a great job explaining it - go here.  Since I had these at the bottom of my veggie drawer I thought I would give it a try!
These veggies I need to use up since I'll be leaving the house shortly to do grocery shopping.  I hate wasting food!  But this will be delicious made into mire poix! 
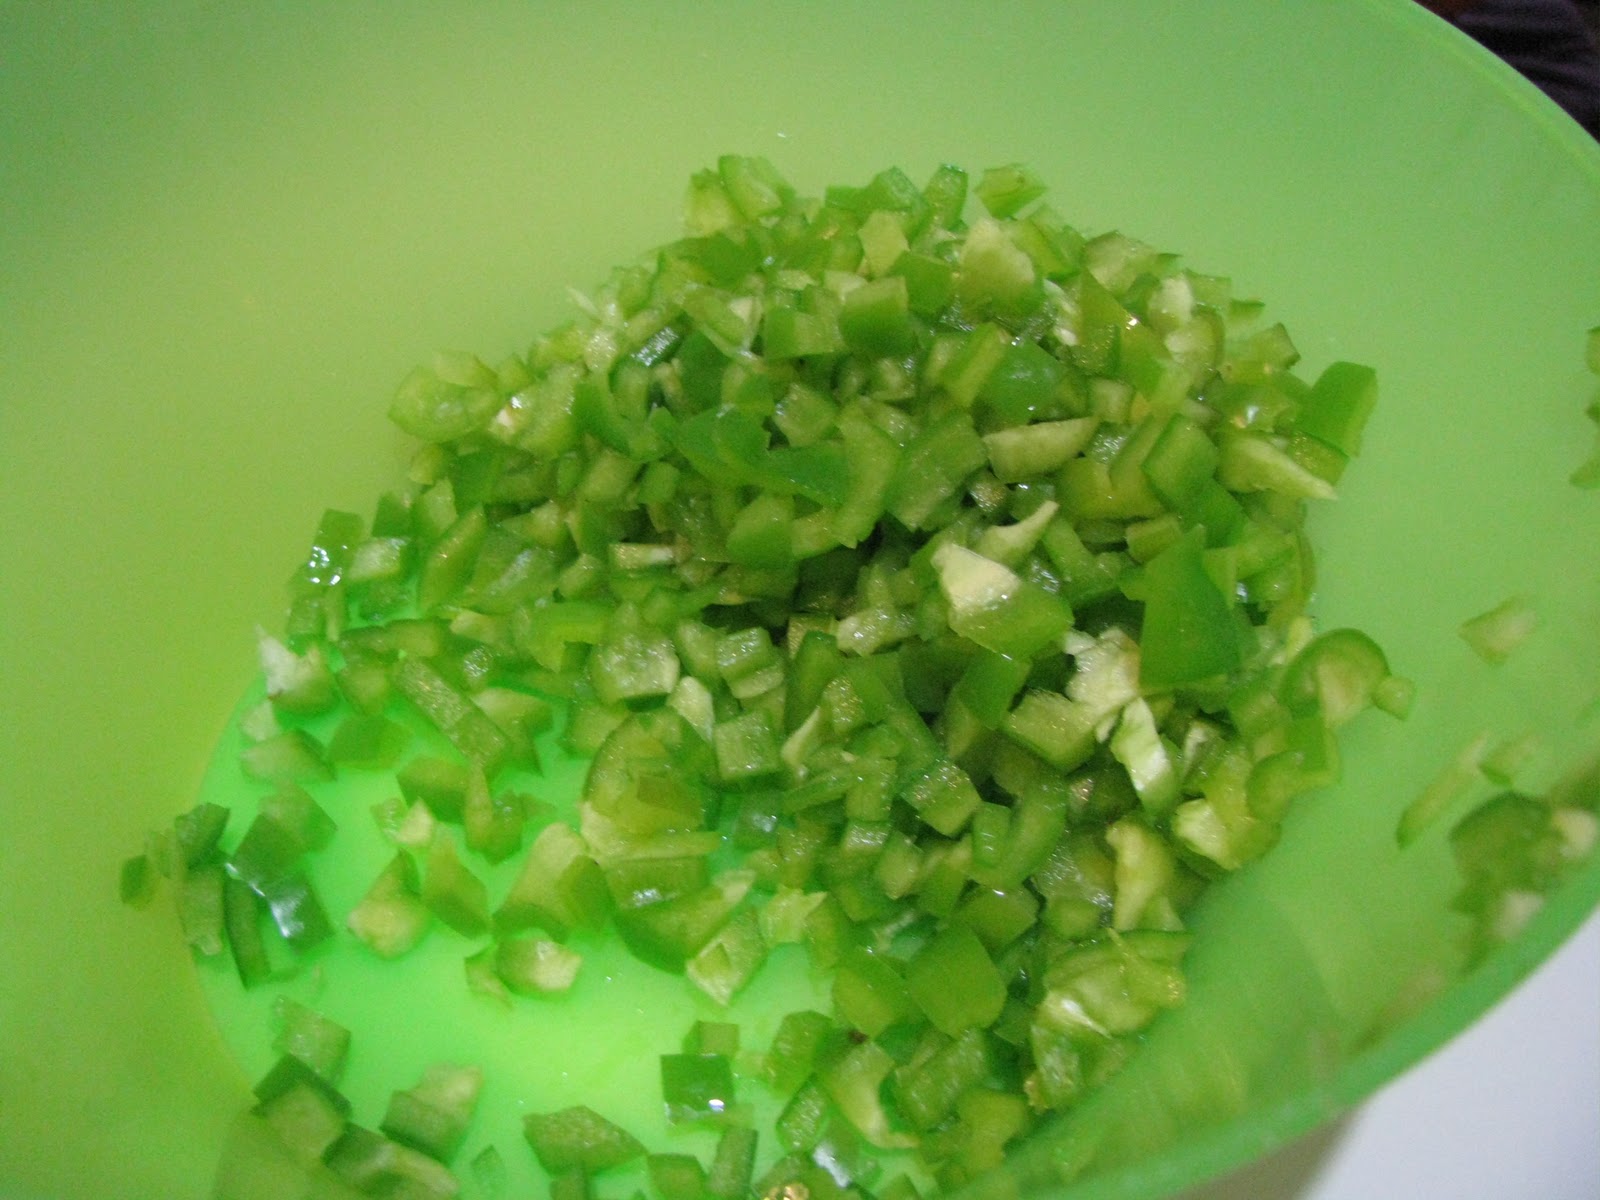
 I chopped two bell peppers...
 Almost an entire bunch of celery...
 Several carrots - I think I had 4 good sized ones...
Two onions - I saved these for last as they were so potent!  I cried the whole time and felt like I was in danger of chopping my own hand off as I could barely see my knife.  {At some point, I'm going to have to get a food processor.  For now, I am the food processor.}
 I gave it a stir in a large plastic bowl. 
 Then I scooped it into ziploc bags in 1 cup portions.
And put all the little bags into one big gallon size one.  Then promptly misspelled my label.  Oh, well.  It occurred to me that mire poix is the same, basically, as the celery and onion I saute and add to my dressing each Thanksgiving.  Something tells me I'm going to love using these little bags of veggies all year long.


Shared with:
and:

Tuesday, September 27, 2011

Compost Cookies

Ever have leftover cereal?  We do.  Into a large resealable cereal container it goes until it gets full and becomes a  smorgasbord of cereal that gets eaten before I will buy another box.  We have two of these now and the boys are started to campaign for "new" cereal.  So, I decided to make compost cookies.
 Compost Cookies
2 sticks unsalted butter, softened
1 cup white sugar
2/3 cup light brown sugar, packed
1 T corn syrup
2 large eggs
1 3/4 cup flour
2 t. baking powder
1 t. baking soda
2 t. salt
1 1/2 c. crushed cereal
1 1/2 c. chopped nuts, dried fruit, or choc chips - mix it up!
Cream the butter and sugar - add eggs and vanilla and mix well.  Sift the dry ingredients together and gradually add them into the creamed mixture.  Stir in your combo of crazy mix-in's.
You can freeze cookie dough wrapped up in the liner of the cereal box.  (Always save those - you already paid for them!)  Wet your hands to smooth out the dough into a shape you can wrap neatly.
Make little packets of a third or so of the dough.  Then freeze them. Just slice and bake at 375 for 12 minutes when ready to eat.
 Lately my pictures have been kinda lame.  But these cookies are not - buttery and somewhat crewycrunchy, depending on the mix in's, or "compost", you use.  Warm from the oven they got a big thumbs up at my house!


Shared with:


Sunday, September 25, 2011

Sentiment and my desk

See that picture of hubby and I over my desk?  It was in a much thinner frame that I decided to paint and use for my cork initial project.  why is it that one project always leads to another?!  I ended up going to Hob Lob and getting a more substantial frame for it - and I don't mind that gold one bit.  I think it looks great against the Tobacco Leaf paint in my front rooms. 
I had the framing guy cut a 3/4 inch mat for me so that you couldn't see that the portrait is not exactly 16x20.  For some reason, it printed out smaller.  Seeing the white edges in portraits makes me crazy!  But after I added the mat, I liked the way it looked in the frame even more.
 
The frame was $15 (half price) and the mat was $9.  I'm thinking its worth it, since I only have one copy of this picture and want it to be framed and hung correctly.  It's a late 25th anniversary present to us to have it framed nicely.  We were sweet young things of 25 and this pic was a special deal at Foley's - $25 or so.  
See a pattern here?
 
 Oh!  For short hair again!  And for being about 50 pounds lighter, but that's probably not going to happen...
It hangs above my desk in my little office nook.  Where it will stay until I take it down again and get copies made for each of my kiddoes.  Someday...


Friday, September 23, 2011

Baking supply ready for the holidays

I pulled out my baking basket yesterday to make a few batches of cookies to freeze and thought I'd better get it cleaned up and see what I needed for holiday baking.  I think a basket like this is a great idea if you love to bake - it keeps you from having to fish around in your dark pantry for those little bottles and boxes of things!
I got this stackable basket from Wally World.  It was just the right size.  I don't put my spices in there, like cinnamon and such, since they live in the spice cabinet.  And the containers of sugar and flour are way too big.  But for the cocoa, baking powder, salt, etc., it's perfect.
I also put in one of those containers lunchmeat comes in to hold the little bottles of extract. 
I'm starting to re-purpose things like that more often.
Did you know that every cereal box comes with a freebie?  Wax paper!  You can use it for storing cookie dough in the freezer.  I have also used them in place of pricey gallon size zip loc bags to marinate meat and store half cut heads of lettuce.  Something else I started doing was to mark with a sharpie on the tops of things as to when they needed to be replaced. 
The basket gets stored on the same shelf as the flour and such. I just pull the whole thing out when I want to bake.  In the meantime, there's usually a snack basket hiding it.  looks like I need to add flour and sugar to my grocery list!  What about you - got any holiday baking tips to share?


Shared with:


Wednesday, September 21, 2011

Un-corked!

I've been saving wine corks for a while now, hoping to get an idea for a craft and yesterday, inspiration finally hit!  I've been wanting to replace this with something new.
 An Anne Geddes print that is at least as old as Scout that hangs above the stove cabinet.
I took another frame that was gold and painted it ORB.  Then I gathered my supplies:  a chipboard "C", a plain cream mat, and some forest green burlap.  I just love green.  
With the exception of the boys' rooms, it's in every room in this house!
 I stapled the burlap to the sturdy original back cardboard of the frame, starting at the corners...
 ...and working my way around.  At this point, I also taped down the extra so the back of my new art 
wouldn't keep it from laying flat against the wall.
 The glass went buh bye.  I put the mat in first, then the burlap covered cardboard.
 I already love the combo of the different surfaces
 Yep - this C is just the right size for the mat opening.
Next, I brought my decorative jar down that holds my cork collection.  We don't drink the expensive stuff, ya'll...I cut most of them in half and hot glued the raw cut edges onto the C.  Not all of my corks were the same size - I wanted there to be a layered look.
 I also wanted to add a bit of that beautiful butternut color that I want to paint a couple of my kitchen chairs in...I found a bit of velvet ribbon in my stash and looped it around the top of my C, then just stapled it to the burlap covered piece.  The stapled end will be hidden under the mat.
Back into the frame it goes.  
The lighting makes it devilishly hard to get a good picture of it hanging way up there.
Here is a better pic of the fall foliage pot up there; I am a fan of fake plants. You can change them up to suit the decor or the season. This pretty glazed pot I found at Tuesday Morning long ago.  I could never get a real plant to live in it, so I gave up and just bought greenery at Hob Lob.
TA DA!
Here is the finished art!  Took me about an hour all together and I really love all of the textures. 
And now that my cork stash is depleted, guess I'll have to re-supply....(:


Monday, September 19, 2011

Letting Fall inside....

I've resigned myself to thinking we will never actually get Fall around here.  
Yes, the trees are changing colors - but mostly from 'green' to 'dead'.  We can pretend we're looking at Fall outside but really, it's dead...and bone dry, too.
However, on the inside I can have Fall on my mantle!  
I purchased a silk Fall spray at Michael's, but the rest is stuff I already had:
I think I'm just going to leave this mirror up here permanently - I love it.  And I hate re-hanging, and patching and painting new nail holes.  I added that sun I found on spring break at Goodwill, painted with ORB spray paint.  It's not an artsy mantle - just simple.
 
The candle holders were a bargain from Kohl's, the smallish pumpkin is from Walgreen's, and the larger monogrammed one from Hob Lob.
I considered changing out the family portrait I took many Falls ago...but it's one of my favs.  It stays.
I figured while I was at it I would clean the fireplace out, vacuum the screen and bricks, remove the Wii controller basket and the floor pillows that had lived on the bricks, too.  I like it so much better clean and de-cluttered!  I think that's gonna be my holiday decorating mantra - clean and de-cluttered...
Whatcha think?


Shared with:

and: