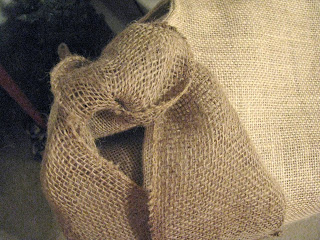
I did it!, and the vision in my head of a burlap tree skirt turned out great!
At one point I was going to order one off Etsy, but I can sew fairly well! So I headed down to JoAnn with my 50% off coupon. I had no idea how much fabric to buy, just eyeballed it at the cutting counter.
When I got home, I ironed the burlap, folded it in half, and laid an old tree skirt on top of it for a pattern. I estimate that this is about 2 yards of fabric.
After I cut out my circle, I folded it in fourths and trimmed off the excess edges so it was perfectly round.
I then cut a triangle out of the top for an opening for the base of the tree stand. I cut a straight line down from that small circle to the edge of the skirt.
I turned in the edges all around about 1/2 and inch or so and pinned them together just to hold my place. I wanted to add a ruffle between the layers.
At the top opening, I attached a strip of bias-cut burlap, stitched it, folded it over, stitched it again. (I don't have a pic for all of that.)
Before I folded over and stitched the lengthwise opening, I pinned in some jute ribbon as a tie.
I added it to the skirt as well.
I spent about an hour pleating it and pinning it just so.
I couldn't resist laying it all out to make sure it was going to work.
I was able to finish it up just before Thanksgiving See the stitching holding the layers and the ribbon together? No? Good!
Can't wait to put it out under the tree!
The two colors of burlap look great together and the ribbon being finished on the edges made it so easy.
I think it turned out lovely.
And some of the ribbon made it to the top of the tree!
Gina


No comments:
Post a Comment